
Last updated November 2, 2026
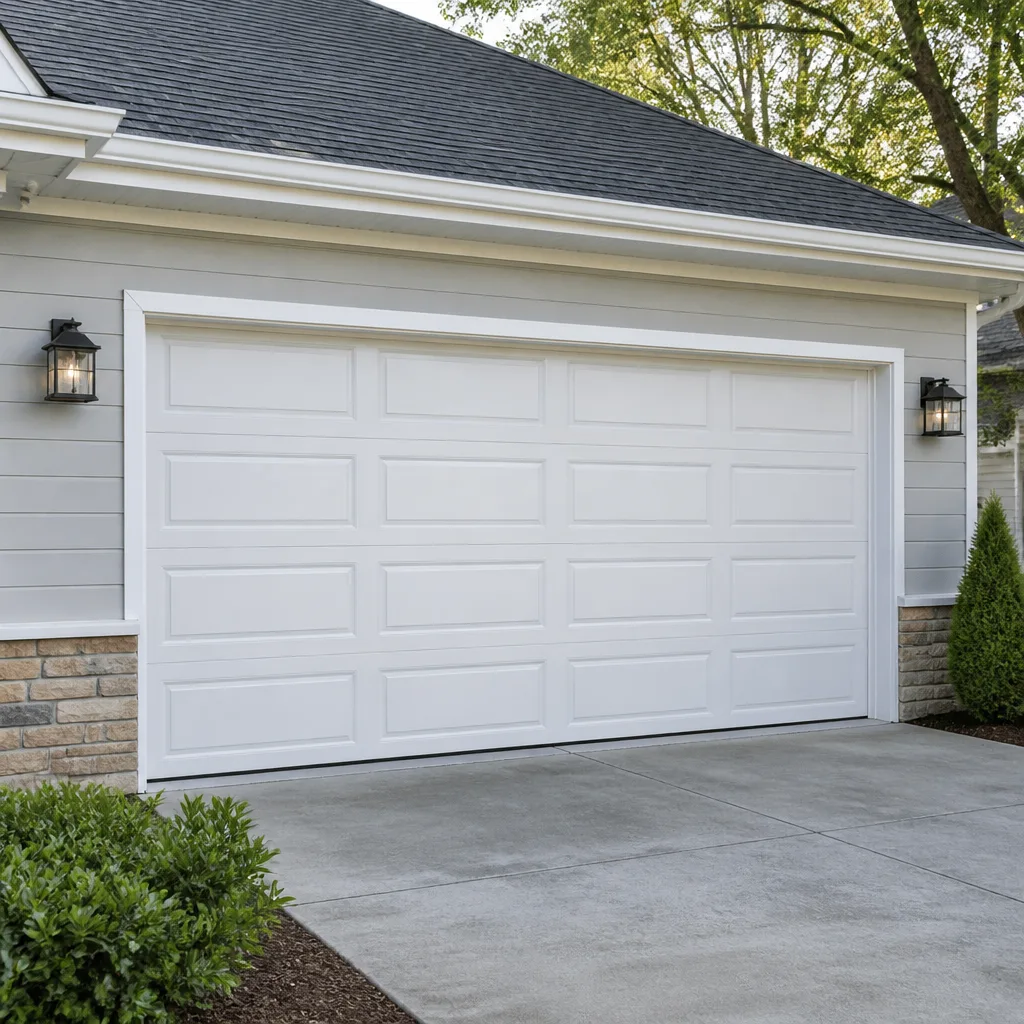 Raised-panel steel
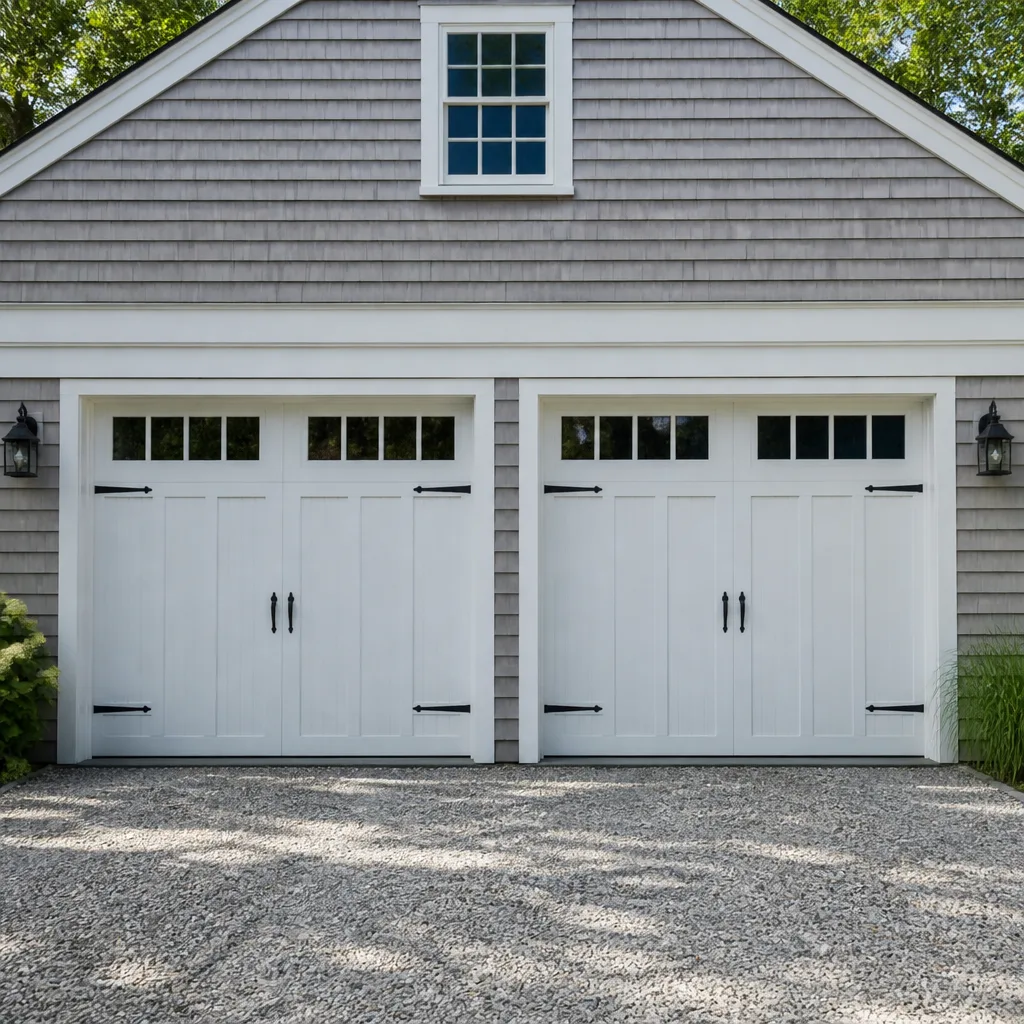 Carriage house
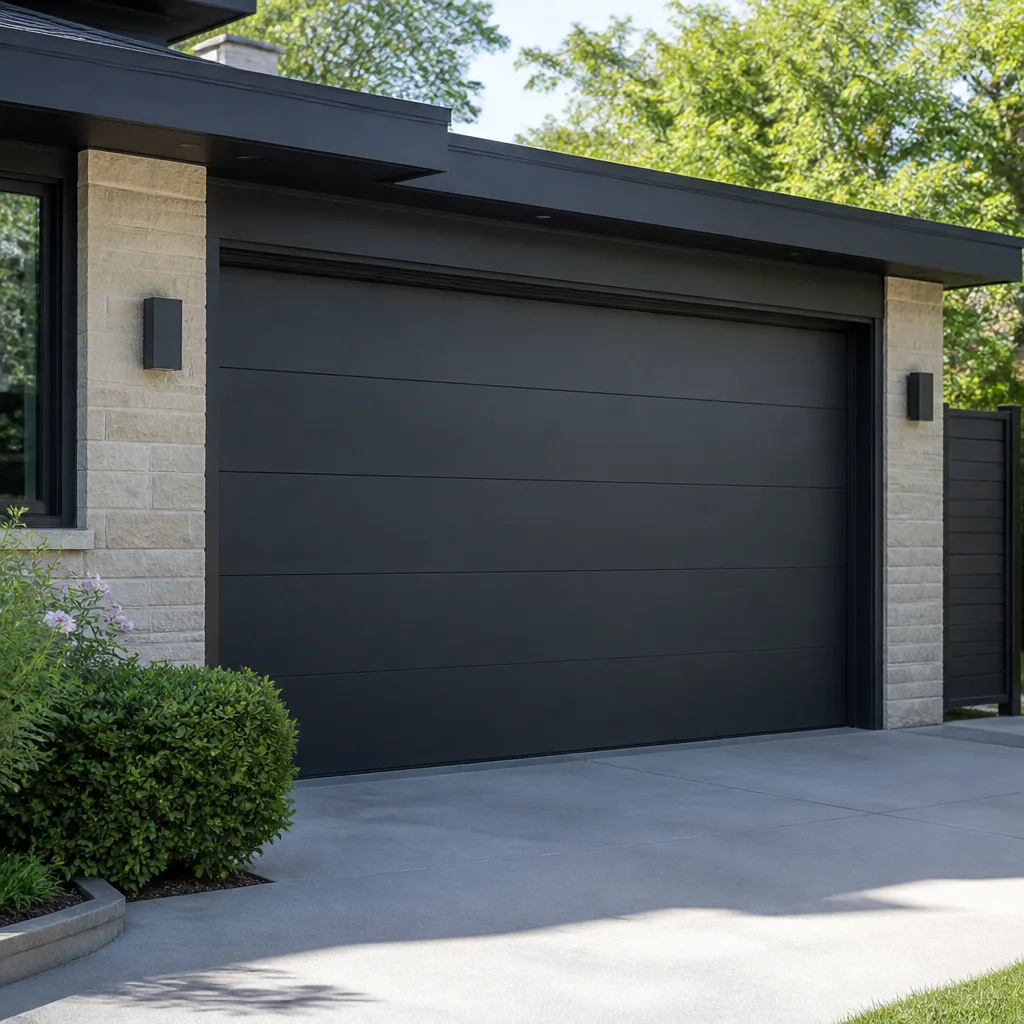 Modern flush
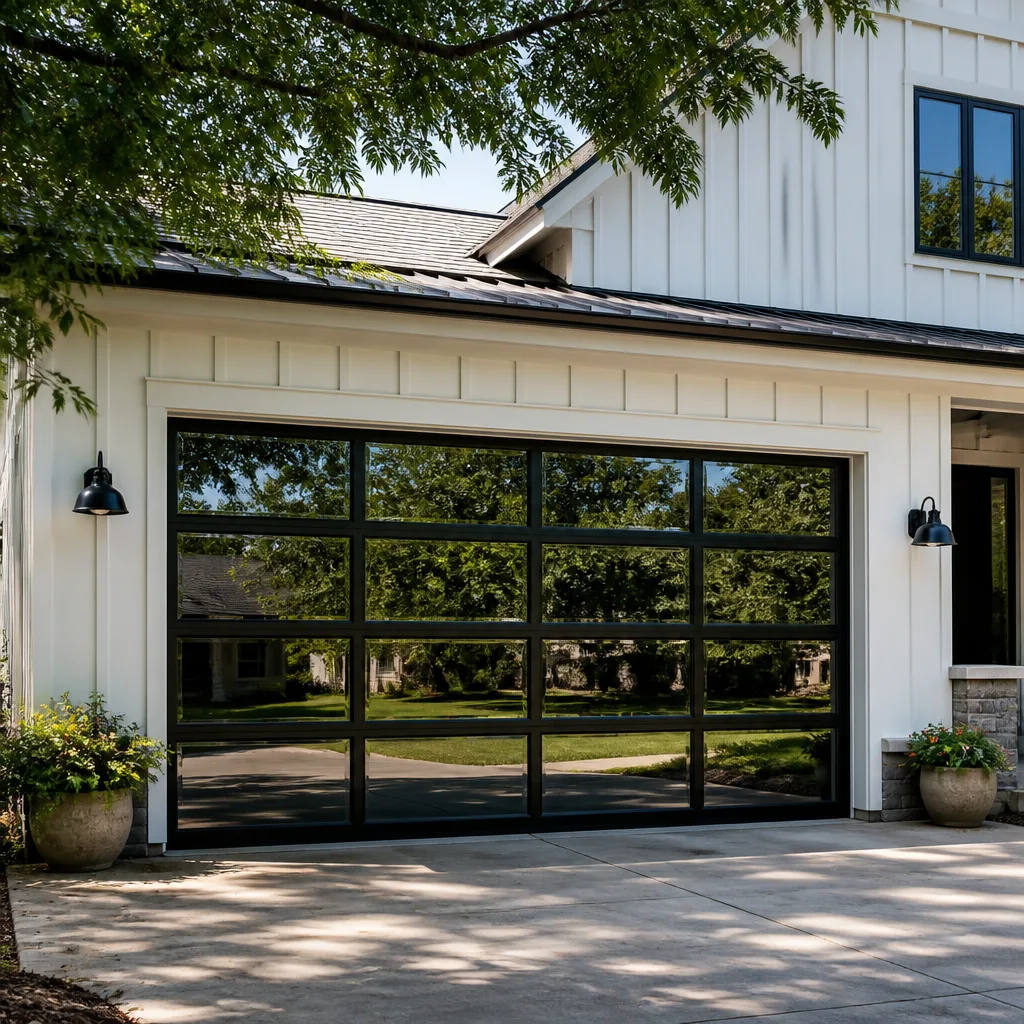 Full-view glass
 LiftMaster openers
 Chamberlain openers
Full 25-point door and opener safety check with every visit - springs, cables, rollers, tracks, and your LiftMaster or Chamberlain opener included
You get a price before we start. It does not change when the truck arrives.
Get your free estimateGarage Door Repair Troubleshooting: Common Problems and How to Fix Them
A door that reverses at 6 inches from the floor is telling you something completely different than a door that reverses halfway down, but most troubleshooting guides treat them as the same problem. That’s why so many Willow Glen homeowners spend a Saturday replacing sensors that were never the issue, or greasing tracks that don’t need grease. This guide teaches a signal-based diagnostic method: what the door is doing, when it’s doing it, and at what point in the travel cycle the failure occurs. By the time you finish reading, you’ll know which problems you can safely address yourself, and which ones need our Garage Door Repair services.
Styles & brands we work with
- Raised-panel steel
- Carriage house
- Modern flush
- Full-view glass
- LiftMaster openers
- Chamberlain openers
Quick Answer
Most garage door failures fall into one of three categories: mechanical (springs, cables, rollers, tracks), electrical (sensors, logic board, wiring), or opener-specific (motor, gears, travel limits, remote signal). The fix depends on when in the door’s travel the problem occurs and what sound accompanies it. A door that reverses near the floor usually points to sensor alignment or travel-limit settings, while a door that stalls mid-travel with a grinding noise typically means a stripped opener gear. For anything involving torsion springs or cables under tension, stop troubleshooting and call a professional.
Table of Contents
- Travel-Point Diagnostics: Reading the Door’s Position
- The Sound Library: What Each Noise Actually Means
- Sensor Misalignment vs. Logic Board Failure: The Flashlight and Dollar Bill Test
- Why Intermittent Failures Point to Electronics, Not Mechanics
- Spring and Cable Problems: The Ones You Shouldn’t Touch
- Opener-Specific Issues: When the Door Moves But Won’t Listen
- The Symptom-to-Cause Lookup Table
- Common Mistakes to Avoid
- When to Call a Professional
- Frequently Asked Questions
- The Bottom Line
Travel-Point Diagnostics: Reading the Door’s Position
Every garage door travels the same path hundreds of times a year. When something fails, where the failure happens along that path is the single most useful diagnostic clue you have. Think of the door’s travel as three zones: the top third (opening and fully open), the middle third (mid-travel), and the bottom third (closing and the last few inches before the floor). Each zone has its own typical failure modes, and knowing which zone you’re in eliminates most of the guesswork.
Top-third failures usually involve the door struggling to lift, stopping before fully open, or slamming when it reaches the top. In Willow Glen, where many homes have doors that face west and get direct afternoon sun, we’ve seen heat expansion cause top-of-travel binding on older steel doors more than any other single top-zone issue. The door heats up, expands slightly, and binds against the tracks at the highest point. It’s a seasonal problem that shows up every summer.
Mid-travel failures are the most serious. A door that stalls, jerks, or makes grinding noises halfway up or down typically has a mechanical problem at the center of the balance system. This is where broken springs, stripped opener gears, and cable issues announce themselves. Mid-travel is also where you’ll notice a door that’s out of balance: it should hold position at any point when the opener is disengaged. If it creeps down from the halfway point with the opener released, the springs are no longer counterbalancing the door’s weight correctly.
Bottom-third failures are the most common and the most misdiagnosed. A door that reverses right before touching the floor, refuses to close all the way, or closes and immediately reopens is usually dealing with sensor issues or travel-limit misconfiguration. But the exact height of the reversal matters. Reversing at 6 inches means something different than reversing at 18 inches, which we’ll cover in the sensor section below.
How to Run a Basic Travel Test
- Disconnect the opener. Pull the red emergency release cord. The door should now move manually.
- Lift the door to waist height and let go. A properly balanced door stays in place. A door that drops is under-sprung. A door that flies up is over-sprung.
- Run the door manually through its full travel. Note any binding, scraping, or hesitation points. Mark the spot with masking tape if you feel resistance.
- Reconnect the opener and run it through a full cycle. Compare the opener-driven travel to the manual travel. If the door binds at the same point in both, it’s mechanical. If it only misbehaves under opener power, it’s opener-related.
This four-step test splits your problem into two halves: the door system and the opener system. It takes five minutes and tells you which half of the equation to investigate, which is half the battle in garage door repair troubleshooting. For more guides & resources, see our blog.
The Sound Library: What Each Noise Actually Means
Garage doors talk. Every failure mode has a signature sound, and once you learn to distinguish them, you can diagnose most problems from across the driveway. Here’s what the common noises mean when they happen during operation.
Popping or snapping (single event, then the door won’t move): This is almost always a torsion spring breaking. The sound is startling, like a firecracker or a hammer hitting metal. One spring breaks and the door becomes too heavy for the remaining spring or the opener to lift. If you hear this sound and the door won’t open, do not try to force it. The door is now unbalanced and dangerous to move manually or with the opener.
Grinding or metallic crunching (continuous, during movement): On opener-driven doors, this usually means the plastic gear inside the opener’s drive unit has stripped. LiftMaster and Craftsman openers from the 1990s and 2000s are especially prone to this. The motor spins, the drive gear teeth are gone, and the door might move in jerks or not at all. On manual doors, grinding often points to a roller that has seized and is being dragged along the track instead of rolling.
Scraping or rubbing (shifts as door passes a certain point): Metal-on-metal scraping at a specific point in the travel usually means a track is misaligned or a roller is binding at that spot. The sound will be consistent every cycle, at the same point. In Willow Glen’s older homes, settling foundations can shift track alignment by a half-inch over decades, and that’s often all it takes to create a scrape.
Squealing or high-pitched whining (continuous, from opener): This is typically a belt or chain drive issue, or a motor bearing starting to fail. Genie screw-drive openers have a distinctive whine when the screw drive needs lubrication. It’s annoying but usually fixable without replacing the whole unit.
Rattling or chattering (louder at certain speeds): Loose hardware. Roller brackets, track bolts, or hinge bolts have worked themselves loose over thousands of cycles. A rattling door is annoying but generally not dangerous, unless the loose component is a spring anchor or cable drum, in which case it becomes a priority.
We’ve worked on Wayne Dalton, Raynor, and LiftMaster doors in Willow Glen that all produced slightly different versions of these sounds. The brand matters less than the sound signature. A grinding noise on a Raynor door means the same thing as a grinding noise on a Wayne Dalton door: stop running the opener and investigate before you cause secondary damage.
Sensor Misalignment vs. Logic Board Failure: The Flashlight and Dollar Bill Test
The single most misdiagnosed problem in garage door troubleshooting – one we detail in Garage Door Warning Signs: A Willow Glen Homeowner’s Reference Guide – is the reversing door. Homeowners replace sensors, then the logic board, then sometimes the entire opener, and the door still reverses. The reason: two completely different failures produce the same symptom, and the fix for one does nothing for the other.
Here’s how to tell them apart with tools you already have: a flashlight and a dollar bill.
The Sensor Alignment Test (30 Seconds)
- Look at the two photo-eye sensors mounted near the floor on each side of the door. Each has a small LED light.
- Both lights solid: Sensors are aligned and powered. The problem is likely elsewhere.
- One or both lights off: No power to the sensor. Check the wiring connections at the sensor and at the opener.
- One or both lights blinking: Misalignment or obstruction. Clean the lenses first, then adjust.
- Test with a dollar bill: Hold a dollar bill in front of one sensor, breaking the beam. The sensor light should change. If it doesn’t, the sensor is dead.
When sensors are the problem: The door typically reverses within 6 inches of the floor. The reversal happens at the same point every time, as the door descends and the sensors read an obstruction or lose their beam.
When the logic board is the problem: The door reverses at inconsistent heights, or reverses immediately when you press the close button, before the door even moves. The sensor lights are solid green and amber, everything looks right, but the board is misinterpreting the signal. Logic board failures also tend to be preceded by the opener not responding to remotes for a moment, or running erratically. The board is the opener’s brain, and when it starts to fail, it behaves unpredictably.
The fix for a sensor misalignment is a 5-minute adjustment with a screwdriver. The fix for a logic board is board replacement, which on a LiftMaster opener typically runs $90 to $180 for the part alone. Before you buy a new opener because your door won’t close, spend 30 seconds with a flashlight checking those sensor lights. It’s the cheapest diagnostic in this entire guide.
Why Intermittent Failures Point to Electronics, Not Mechanics
A door that works fine for three days, then won’t open, then works fine again, then acts up a week later, is not a spring problem. Broken springs don’t heal themselves. Broken cables don’t reattach themselves. Mechanical failures are binary: once something breaks, it stays broken until it’s fixed. Intermittent failures almost always point to electronics.
The three most common causes of intermittent garage door failure are:
- Logic board degradation: Circuit boards don’t always fail all at once. Capacitors dry out, solder joints crack from vibration, and the board starts behaving erratically. Sometimes it’s temperature-sensitive: the board works when cold but fails when the garage heats up in the afternoon. That’s a classic capacitor failure.
- RF interference: Modern garage doors are controlled by radio frequency signals. LED light bulbs, especially cheap ones, emit RF interference in the same frequency bands used by garage door remotes. A homeowner installs new LED bulbs in the opener, and suddenly the remote only works sometimes. The fix is as simple as swapping in a garage-door-rated LED bulb. In Willow Glen, where smart-home devices are common, RF congestion from Wi-Fi routers, doorbell cameras, and mesh networks can also contribute. LiftMaster’s myQ systems operate on 2.4 GHz, the same band as most home Wi-Fi. Dense neighborhoods with lots of competing networks see more intermittent issues.
- Loose wiring connections: Vibration from thousands of open-close cycles can work a connector loose at the opener’s terminal block or at the wall button. The door works when the wire happens to be making contact, then fails when vibration shifts it.
If your door is intermittent, keep a log. Note the time of day, the temperature, whether you used the wall button or the remote, and what the door did. That data will tell a technician more than a photo ever could. It also prevents the most frustrating outcome: paying for a service call when the door works perfectly while the technician is standing there.
Spring and Cable Problems: The Ones You Shouldn’t Touch
There’s a category of garage door failures that every honest guide must address honestly: springs and cables are not DIY repairs. Torsion springs are wound under enormous tension, enough to lift a 150-to-250-pound door. A cable under tension, when it snaps, can cut through a work glove or worse. This section tells you how to identify these problems, not how to fix them yourself.
Warning signs of a broken torsion spring:
- A loud pop or snap from the garage, followed by the door refusing to open
- A visible gap in the spring, usually about 2 inches wide, on a spring mounted above the closed door
- The door opens a few inches and stops, even though the opener is running
- One side of the door sits higher than the other when closed
Warning signs of a cable problem:
- A cable has visible fraying, kinking, or individual wires poking out
- A cable has come off the drum at the top of the door
- The door opens unevenly, with one side lagging
- The door looks askew in the opening when partially open
Springs and cables wear out on a predictable schedule. Standard torsion springs are rated for roughly 10,000 cycles, which translates to about 7 to 10 years of typical use for a Willow Glen household. If your springs are that age, and one of them pops, the fix is replacing both springs, not just the broken one. The unbroken spring is just as fatigued as the one that failed, and replacing only one means doing the same job again in a year or two.
Working with torsion springs requires winding bars, proper safety procedures, and the judgment to know when a spring’s torque rating is correct for the door’s weight. This is where the multi-brand experience at Granite Garage Door Repair home matters: a Wayne Dalton TorqueMaster spring system is a completely different animal than a standard torsion spring, and the wrong parts or procedure turn a routine repair into a hazard. If you suspect a spring or cable failure, call a professional who can identify your system correctly.
Opener-Specific Issues: When the Door Moves But Won’t Listen
The opener is a separate machine from the door it operates, and opener problems deserve their own troubleshooting category. The good news: most opener failures are identifiable with simple observations. The bad news: opener repair is where generic handyman services consistently fail, because each manufacturer designs its drive systems and circuit boards differently. If you’re choosing between providers, read How to Hire a Garage Door Contractor in Willow Glen: A Step-by-Step Guide.
Opener runs but door doesn’t move: You hear the motor humming, but the door stays put. On chain-drive and belt-drive openers, this usually means the drive gear has stripped. LiftMaster and Chamberlain openers built before 2010 used plastic drive gears that are known for stripping after 10 to 15 years. On screw-drive Genie units, the screw coupler can shear. The diagnosis: motor sound, no movement. The fix: gear or coupler replacement, which is a repair we perform regularly on both legacy and current models.
Opener moves the door but won’t stop at the right points: The door slams into the floor, or stops 2 feet short of the ground, or reverses after closing. These are travel-limit problems. On newer LiftMaster and Chamberlain openers, the limits are set digitally. On older Craftsman openers, they’re set with small dials or screws on the opener body. If the limits keep drifting, the limit switch or encoder is wearing out, and no amount of re-setting will hold permanently.
Opener responds to wall button but not remote: The wall control works, but the remote in your car does nothing. This narrows the problem to the receiver, the remote battery, or RF interference. During hot Willow Glen summers, a remote left in a parked car can have its battery drain faster, but before replacing anything, try reprogramming the remote. If reprogramming works and then the remote stops working again, the receiver board on the opener is failing.
Opener responds to remote but not wall button: The wiring between the wall button and the opener has a break, or the wall button itself has failed. Check for staples that may have pierced the wire, pet damage, or water intrusion near the button.
We work on the opener unit itself, not just the remote. That distinction matters because replacing a remote or reprogramming a keypad doesn’t fix a stripped gear or a failing logic board. Our team handles LiftMaster, Chamberlain, Genie, and Craftsman units specifically because we know the failure points of each brand’s drive systems and electronics. For homeowners in the Willow Glen area, Garage Door Opener Repair in Willow Glen is available without needing to coordinate a separate contractor for the door itself.
The Symptom-to-Cause Lookup Table
Here’s a reference table covering the 12 most common garage door failure combinations. Match your symptom to the likely cause, then follow the recommended action.
| Symptom | When It Happens | Likely Cause | Action |
|---|---|---|---|
| Door won’t open, loud pop heard | Sudden | Broken torsion spring | Call a professional; do not force the door |
| Door reverses at 6 inches from floor | Every closing cycle | Sensor misalignment or obstruction | Clean lenses, realign sensors, check wiring |
| Door reverses at inconsistent heights | Irregular | Logic board failure | Inspect board; likely replacement needed |
| Door stalls mid-travel with grinding | Mid-opening or closing | Stripped opener drive gear | Replace gear or opener |
| Door creeps down when disengaged | Manual operation | Springs not counterbalancing correctly | Have springs evaluated; likely replacement |
| Door opens unevenly, one side lagging | During opening | Broken or off-track cable | Call a professional immediately |
| Door is noisy, scraping at one point | Same spot every cycle | Track misalignment or seized roller | Inspect rollers and tracks; lubricate or realign |
| Door works, then doesn’t, then works | Unpredictable | Logic board, RF interference, or loose wire | Check LED bulbs, wiring, and board condition |
| Opener hums but door doesn’t move | Press button | Stripped gear or failed coupler | Opener repair needed |
| Door slams shut and reopens | Every closing | Travel limit set too far | Adjust travel-limit settings |
| Door won’t close all the way, leaves a gap | At bottom | Bottom seal issue or travel limit | Check seal and limit settings |
| Remote works intermittently from car | Only from outside | RF interference or remote battery | Replace battery; test with LED bulbs removed |
Common Mistakes to Avoid
- Lubricating the track. The track is not supposed to be lubricated. Rollers ride on the track, and grease or oil attracts dust and grime, which creates a sticky paste that binds the rollers. Lubricate the rollers’ bearings and hinges, not the track surface.
- Continuing to run the opener after a loud noise. When a spring breaks or a gear strips, the worst thing you can do is press the button again. Running the opener against resistance causes secondary damage to the opener, cables, and sometimes the door panels themselves. One press after the noise is enough for diagnosis; then stop.
- Replacing sensors for a logic board problem. If the sensor lights are solid and the beam is unbroken, replacing the sensors won’t fix a reversing door. You’re replacing a good part while the real problem remains.
- Adjusting spring tension without proper tools and experience. Torsion springs store enough energy to lift the door hundreds of times without you touching it. A mishandled winding bar can cause a serious injury. This is not a task for a YouTube tutorial.
- Tightening every bolt before identifying the real problem. Overtightening track bolts can shift alignment and create new binding points. Make one adjustment, test, and observe before making another. Systematic diagnosis beats random wrenching.
- Replacing the whole opener when a gear repair would do. A stripped gear is a $60 to $120 part on most LiftMaster and Chamberlain units. A new opener is $300 to $500 installed. Check the gear before you scrap the opener.
When to Call a Professional
Some problems are fully appropriate to fix yourself: sensor realignment, remote reprogramming, travel-limit adjustments, roller cleaning, and simple lubrication. Other problems require professional tools, multiple years of experience, or both. Call a pro when you have a broken spring, a damaged or off-track cable, a door that has come off its tracks, a stripped opener gear on a unit you’re not familiar with, or any problem involving the components under tension. These failures don’t get better with time, and continued operation causes more expensive damage. Granite Garage Door Repair offers free estimates in Willow Glen. If you’re not sure whether your problem is mechanical, electrical, or opener-related, call (877) 265-9458 and describe what the door is doing. We’ll help you determine if it’s something you can handle or if a service call makes more sense.
Frequently Asked Questions
Garage door repair in Willow Glen typically ranges from $125 to $350 for common fixes like sensor realignment, roller replacement, or travel-limit adjustment. Spring replacement runs higher, usually $280 to $450 for a pair of torsion springs, because the parts are heavier and the labor requires more time. Opener gear replacement falls in the $150 to $250 range. Every repair starts with a diagnosis, and the price is quoted and agreed before any work begins. Call (877) 265-9458 for an exact quote on your specific issue; estimates are free.
Most common garage door repairs can be completed the same day, especially sensor issues, broken rollers, and opener gear replacements. Spring replacement is typically same-day as well, since the parts are stocked on the service truck. More involved jobs, like a full door installation, require a measure and scheduling. Call (877) 265-9458 and describe your problem; we’ll tell you over the phone whether it’s likely a same-day fix.
A garage door that reverses near the floor usually has misaligned photo-eye sensors or an obstruction breaking the sensor beam. Check the sensor lights first: if one or both are blinking, clean the lenses and realign them until both show solid lights. If the reversal happens at inconsistent heights with solid sensor lights, the opener’s logic board is likely failing and will need replacement.
Yes. We stock parts for the brands we service, including Wayne Dalton, LiftMaster, Craftsman, Raynor, Chamberlain, and Genie. Common items like springs, rollers, cables, sensors, and opener gears are on the truck. If a specialized part is needed, we order it directly from the manufacturer and return once it arrives. The initial diagnosis tells us which parts to bring, so a second trip is rare.
No. You get a firm quote before any work begins, and that quote doesn’t change unless you approve additional work beyond what was diagnosed. If we open up the door and find additional damage, we show you what we found, explain your options, and quote the additional work separately. You decide what gets done, and nothing gets done without your sign-off.
If your garage door grinds during operation, stop using it and disconnect the opener with the emergency release. Continuing to run the door against a stripped gear or seized roller will compound the damage. Run the door manually once to see if the grinding is in the door system or the opener. If it grinds manually, the problem is mechanical. If it only grinds under opener power, the drive gear or coupler is the issue. Either way, treat grinding as a stop-and-check signal, not a sound to ignore.
We service LiftMaster, Chamberlain, Genie, Clopay, Amarr, Wayne Dalton, Craftsman, and Raynor garage doors and openers. If your door or opener carries one of these names, we’ve worked on it before and know its specific failure points and parts requirements. For brand-specific help, our team works across the full range, from legacy pull-chain openers to current smart-home systems like LiftMaster and Chamberlain myQ.
The Bottom Line
Garage door troubleshooting isn’t about memorizing a hundred possible problems. It’s about reading the signals: where in the travel cycle the failure happens, what sound accompanies it, and whether the behavior is consistent or intermittent. Those three data points narrow the field from dozens of possibilities to two or three, and from there the fix is usually straightforward. The exceptions are springs, cables, and anything under tension, where the right response is a phone call, not a wrench. If you’re in Willow Glen and your door is misbehaving, start with the travel test and the sound library above. If you find a problem that needs a professional, call (877) 265-9458 for a free estimate. We’ll tell you whether it’s a fix, a repair, or a replacement, and we’ll give you the number before any work starts.
Written by the team at Granite Garage Door Repair, serving Willow Glen since 2017.
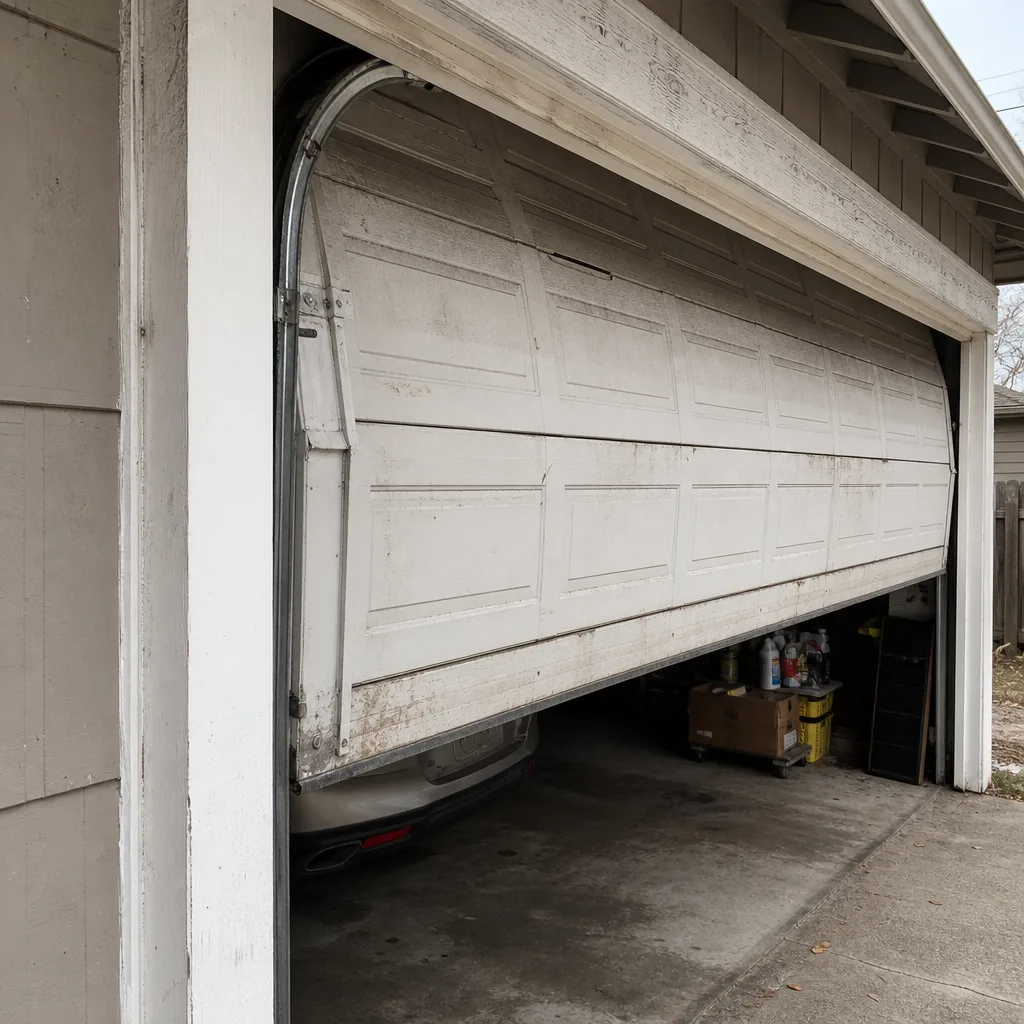
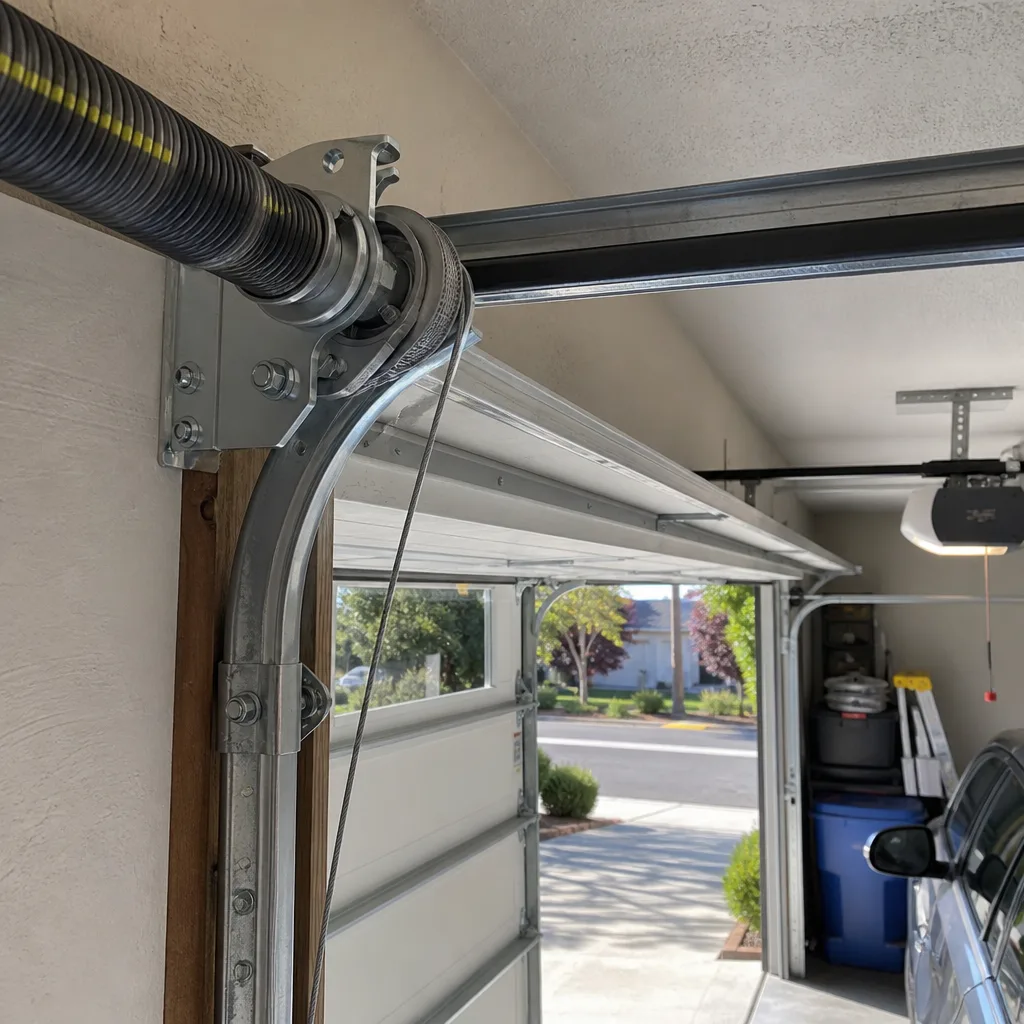
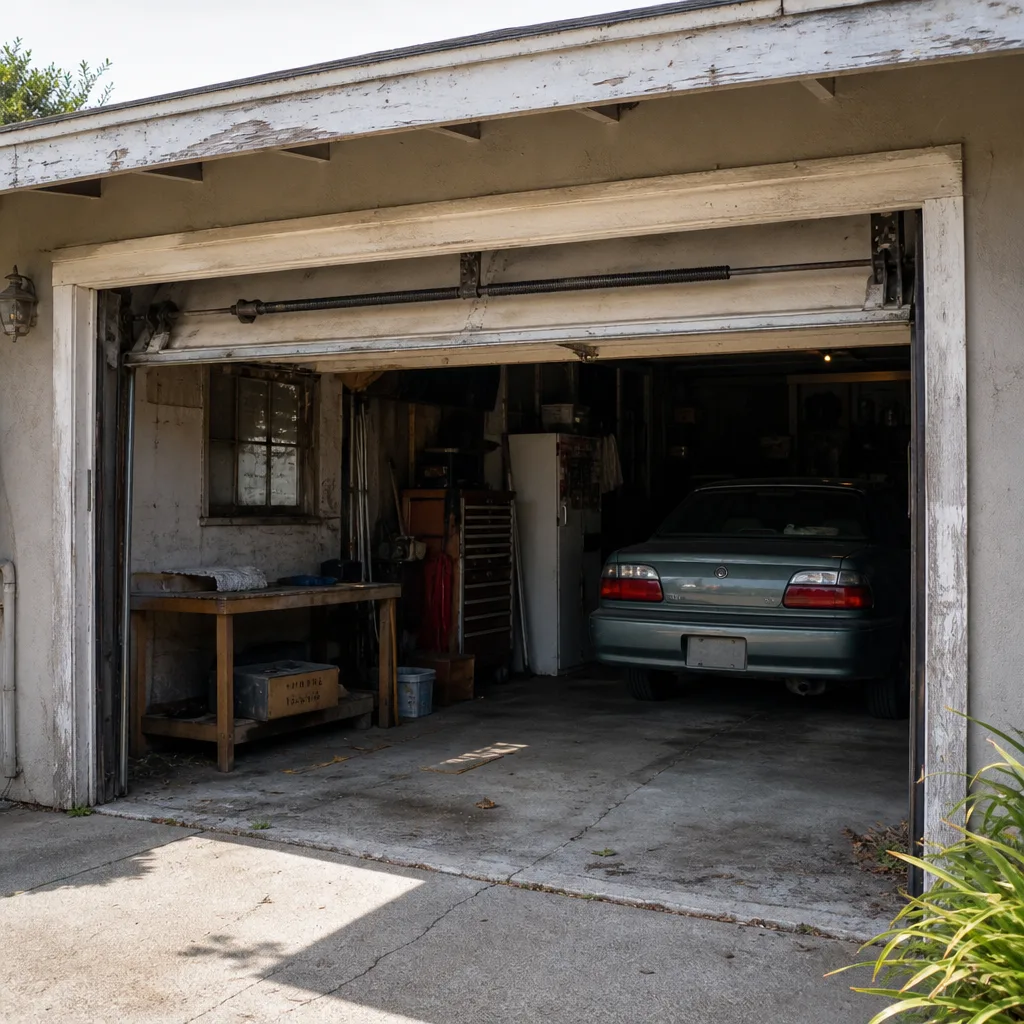
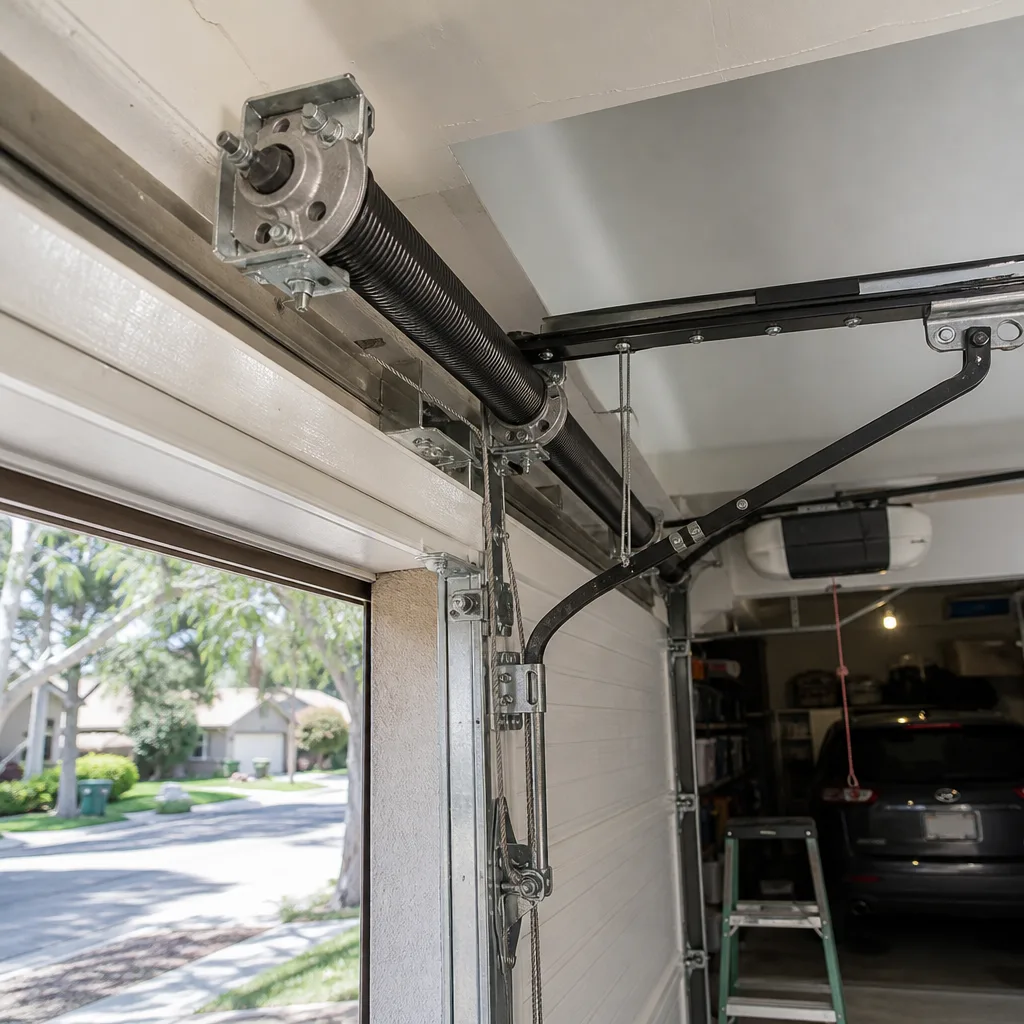
See the difference
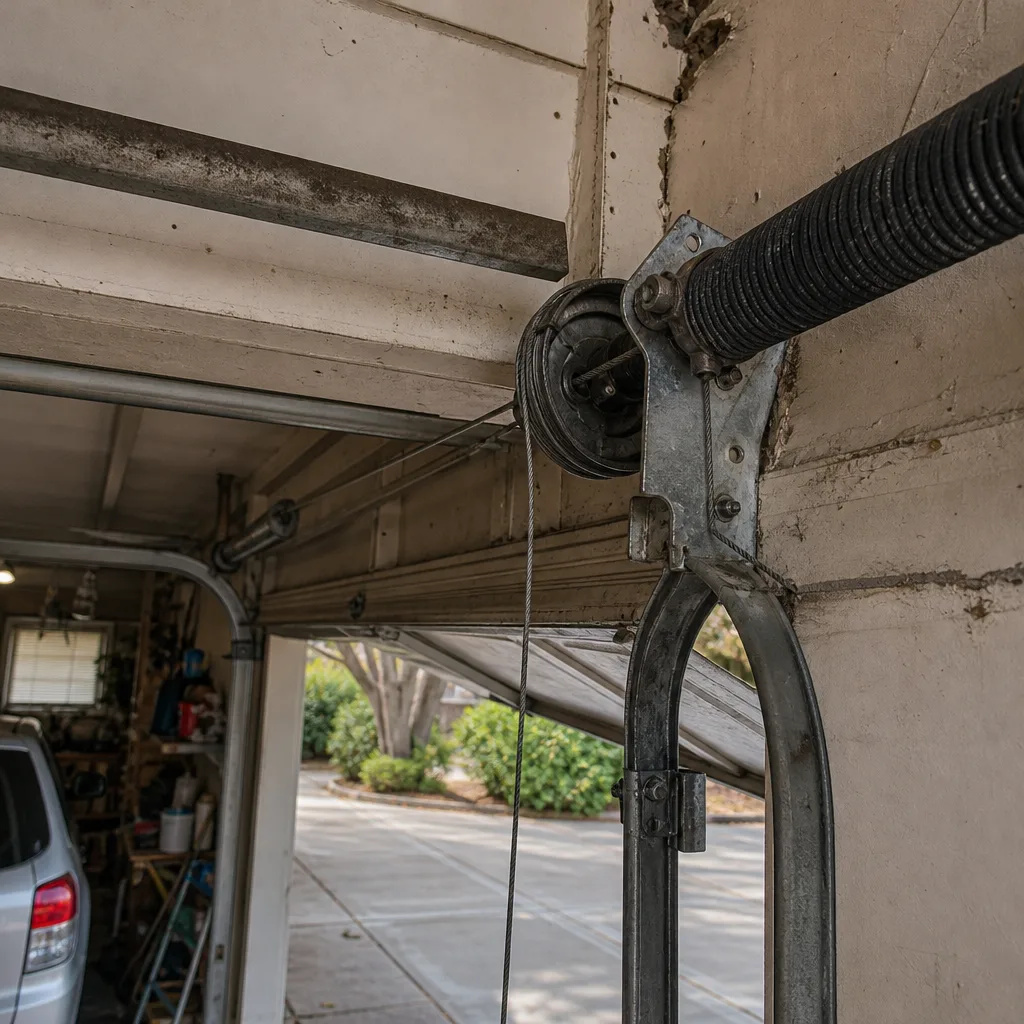 Before
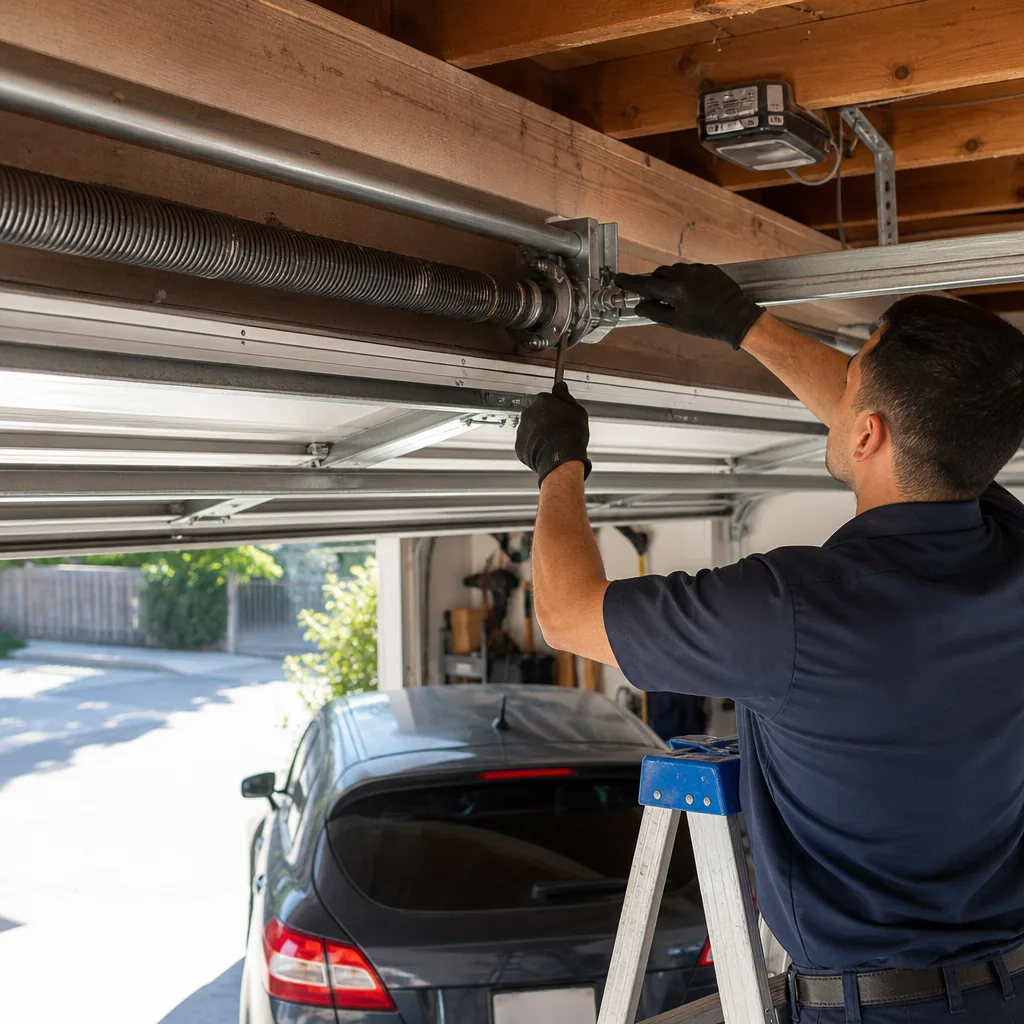 After
 Before
 After
 Before
 After